Last Updated: April 2026 | By the HomeschoolPicks Team (15+ years combined homeschooling experience across three families, currently raising seven children ages 4-17 in our Charlotte Mason homeschools)
Affiliate Disclosure: This article contains affiliate links. If you purchase through our links, we may earn a small commission at no extra cost to you. We only recommend resources we’ve personally used with our own children.
The first time I tried Charlotte Mason picture study with my kids, I expected blank stares. Instead, my 7-year-old spent ten full minutes describing a Vermeer painting and noticed the cat hiding under the table that I had completely missed. After six years of weekly picture study in our homeschool, I’m convinced it’s the most beautiful, low-effort, high-impact subject in the entire Charlotte Mason method.
If you’re new to Charlotte Mason picture study and feel a little intimidated by the words “art appreciation,” relax. This guide will walk you through exactly what picture study is, why it works, what materials you need, how to run your first lesson, and how the practice grows from preschool through high school. Moreover, you’ll get a 30-day starter plan to begin this week.
Quick Answer: What Is Charlotte Mason Picture Study?
TL;DR: Charlotte Mason picture study is the practice of looking at a single great painting for several minutes, then describing it from memory. Mason rotated 6 paintings per term by one artist, with one painting studied per week. It builds visual attention, art knowledge, and a lifelong love of beauty, all in 15 minutes a week.
Overview: Why Picture Study Works
Picture study works because it asks children to look slowly in a culture that races past everything. To describe a painting from memory, a child must first observe details, then hold them in mind, then organize them into language. Therefore, picture study builds the same attention muscles as narration, but with a different medium.
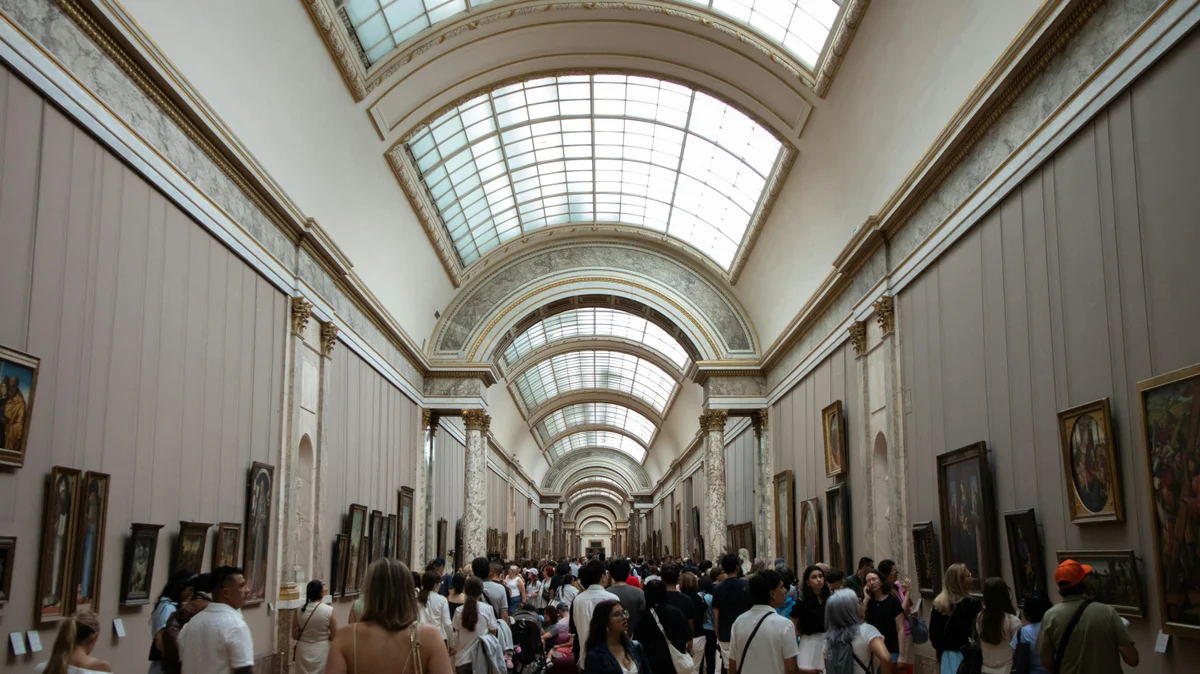
Moreover, Mason believed children deserved exposure to genuine masters, not cartoonish “art for kids.” She rotated through Rembrandt, Vermeer, Monet, and the rest, trusting that children would respond to greatness. In our experience, she was right. My 5-year-old can name three Van Gogh paintings on sight, and she did it without flashcards.
Materials You’ll Need
Here’s the full materials list for Charlotte Mason picture study after six years of weekly lessons:
- Six high-quality reproductions per term. Specifically, choose 6 paintings by one artist. You can print them from museum websites for free.
- A printer or art prints. Ideally, print on cardstock at 8.5×11 size. Alternatively, buy postcards from a museum gift shop.
- A simple folder or binder. Honestly, this is just to keep prints from getting bent.
- A short artist biography. For instance, library children’s books work perfectly.
- 15 minutes of quiet time, once a week. Naturally, that’s the only schedule requirement.
Total cost for our family last year: about $5 in printer ink. Many families spend zero by using library art books and free museum downloads. Furthermore, the National Gallery of Art offers thousands of free, downloadable images in the public domain.
Benefits of Picture Study
- Builds visual attention. Specifically, kids learn to notice details others miss.
- Develops art vocabulary. As a result, they learn terms like composition, perspective, and palette in context.
- Creates art literacy. Moreover, by age 12, your child will recognize dozens of masterworks.
- Costs almost nothing. Indeed, free downloads are everywhere.
- Takes only 15 minutes a week. After all, that’s it. No daily prep.
- Pairs with history. Furthermore, you can sync artists to your history timeline.
According to research summarized by the National Endowment for the Arts, children with regular exposure to visual art show measurable improvements in observation, focus, and academic performance. Similarly, a long-running study published through ERIC at the U.S. Department of Education found that arts-integrated learning improved both engagement and standardized test scores. Charlotte Mason figured this out a century ago, with no funding or grants.
Challenges Parents Face
- You feel unqualified. However, you don’t need an art degree. You just need to look.
- Kids stare blankly at first. Initially, this is normal. Give it three weeks.
- Choosing artists is overwhelming. Therefore, just pick from the curated lists below.
- Squirmy younger siblings. Meanwhile, let them sit on your lap and look along.
- You forget weekly. So put it on the calendar like everything else.
Best Practices for Picture Study
Stick With One Artist Per Term
For each 12-week term, focus on a single artist. Specifically, that’s one artist, six paintings, two weeks per painting. Consequently, the depth far outweighs the breadth.
Look Silently First
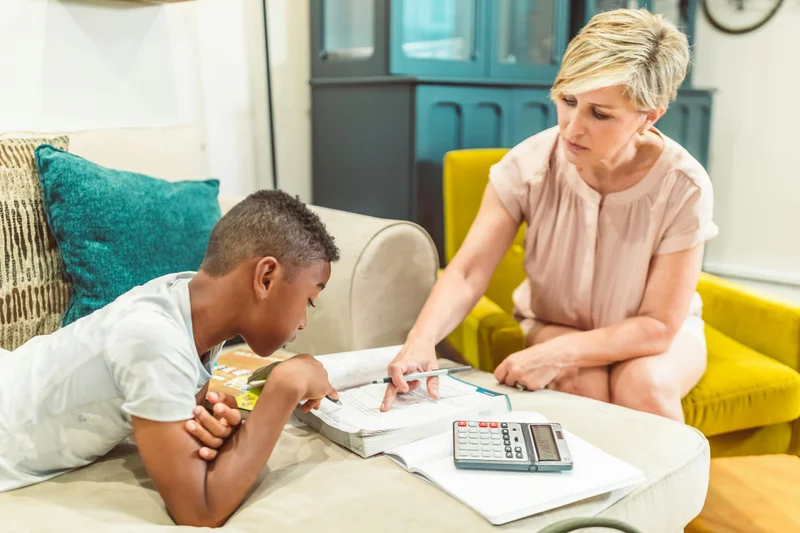
Set a timer for 3-5 minutes. Then have everyone look at the painting in complete silence. No talking, no questions, no “what do you see?” Just looking. This is the hardest part for parents and the most important.
Turn It Over and Describe
After the silent look, flip the print face down. Now ask one open prompt: “Tell me what you saw.” Importantly, don’t quiz. Don’t correct. Just listen.
Look Again Together
Finally, turn the print back over and look together. Point out things the child missed. Discuss what you both noticed. This is where real conversation happens, after the description.
Repeat the Same Painting Next Week
For two weeks per painting, the second viewing always reveals new details. In addition, the child internalizes the image deeply enough to recognize it years later.
Scope: Picture Study Across the Ages
- Ages 3-5: Initially, simply look at beautiful art together. No formal description required.
- Ages 6-8: Now begin formal picture study. Brief 1-2 minute descriptions are perfect.
- Ages 9-12: At this stage, longer descriptions and basic art vocabulary. Add the artist’s biography.
- Ages 13-15: Then introduce art history connections, periods, and movements.
- Ages 16-18: Finally, full art history, critical analysis, and personal response.
Features of a Good Picture Study Session
A well-run picture study session has several features: a single high-quality reproduction (not a thumbnail on a phone), several minutes of silent looking, an open description prompt, a second look together, and a brief discussion. Notably, the session should never exceed 15 minutes total. Mason was clear: short, focused sessions beat long, draggy ones every time.
Step-by-Step Instructions for Your First Session
- Pick your first artist. For beginners, I recommend Vermeer or Van Gogh. Their paintings are accessible and visually striking.
- Print or download six paintings. Specifically, use museum websites like the Metropolitan Museum of Art for free public-domain downloads.
- Pick the first painting for week 1. Naturally, choose one with clear subject matter and rich details.
- Read a short biography. Before the first session, share two or three sentences about the artist.
- Set a 3-5 minute silent timer. Then have the family look without talking.
- Turn the print over. Now ask, “Tell me what you saw.”
- Listen without interrupting. Just nod and let them describe.
- Turn the print back over. Together, look again and discuss.
- Tuck the print away for next week. Same painting again next session.
- Move to painting 2 in week 3. Repeat the cycle for all six paintings across the term.
Lessons and Activities Beyond Description
Picture study isn’t only looking. In our homeschool, some of our favorite student activities have included: copying a small portion of a painting in colored pencil, writing a poem inspired by a painting, finding the artist’s other works in a library book, locating the country and century on a map, and visiting a real art museum to see one painting in person. Each of these lessons takes very little prep but generates rich conversation.
Evaluation: How to Tell It’s Working
After one term of picture study, you should see specific changes. First, your child will start pointing out art in books, magazines, and stores. Second, they’ll recognize “their” artist’s style on sight. Third, they’ll use art vocabulary spontaneously, words like brushstroke, palette, or background. Fourth, they’ll ask to see more. In our family, my kids now beg to visit art museums, which I never expected when we started. That alone is worth the 15 minutes a week.
Comparison: Picture Study vs Traditional Art Curriculum
| Approach | Time/Week | Cost | Builds |
|---|---|---|---|
| Picture Study | 15 min | ~$5 | Art literacy, attention |
| Traditional Art Textbook | 1-2 hours | $50-$150 | Facts, terms |
| Art Class/Subscription | 1-2 hours | $200-$500 | Hands-on technique |
Notably, picture study doesn’t replace hands-on art making, you still want to give kids paint and clay. However, it does replace the “art appreciation” component of any traditional art program, more efficiently and more memorably.
Disadvantages and Honest Limitations
To be fair, picture study has limits. It won’t teach your child to paint or draw, that requires separate hands-on practice. Additionally, it works best with a quiet, focused household, which can be hard with toddlers underfoot. Furthermore, choosing artists and finding good reproductions takes some upfront effort, though the payoff is huge after the first term.
Troubleshooting: Common Picture Study Problems
- Child won’t look for 5 minutes. The fix: start with 2 minutes and build up gradually.
- Description is one word: “A house.” The fix: ask “What else?” once, then move on. Detail will grow weekly.
- Bored kids. The fix: switch artists. Vermeer might work for one child while Monet captivates another.
- Resistance to repetition. The fix: explain that great paintings reveal more with each look. Then prove it together.
- No printer. The fix: use a tablet at full screen, or buy postcards from a museum gift shop.
Recommended Artists for Beginners
If you’re not sure where to start, here are five artists that consistently work well with young children:
- Vincent Van Gogh (post-impressionist, vivid colors)
- Johannes Vermeer (Dutch Golden Age, intimate domestic scenes)
- Claude Monet (impressionist, gardens and light)
- Mary Cassatt (American impressionist, mothers and children)
- Norman Rockwell (modern American, narrative-rich)
Practical Summary: Your First 30 Days
- Week 1: First, pick one artist. Then download or print six paintings. Finally, do your first 15-minute session.
- Week 2: Next, repeat the same painting. Notice new details.
- Week 3: Now move to painting two. Add a 2-sentence artist biography.
- Week 4: Finally, repeat painting two. Check in with how it’s going and adjust if needed.
Frequently Asked Questions
Do I need to know art history?
Not at all. In fact, you and your child can learn together. A simple library book about the artist will give you everything you need.
How long should a picture study session last?
Around 15 minutes total. Specifically, that includes 3-5 minutes silent looking, 2-3 minutes describing, and 5-7 minutes discussing together.
Where can I find free art reproductions?
Generally, museum websites are the best source. For example, the National Gallery of Art and the Met both offer free public-domain downloads of thousands of works.
What if my child doesn’t like art?
Try different artists. Often resistance just means the wrong artist for that child. Norman Rockwell or Van Gogh usually win over reluctant kids.
Should picture study replace art making?
No, definitely not. Instead, pair it with regular hands-on art (paint, clay, drawing). The two practices feed each other beautifully.
Final Thoughts
Picture study is the simplest, cheapest, and most beautiful Charlotte Mason practice. Honestly, fifteen minutes a week of looking at one masterpiece will give your kids a richer art education than most college students get. So pick an artist this week, print six paintings, and start. You’ll be surprised how quickly the love of beauty grows.
Want more? Check out our guides on the Charlotte Mason method, living books, narration, nature study, and sample schedules.


Leave a Reply